1. Access Your QuickBooks Account
To begin editing your QuickBooks invoice template, you must first log into your QuickBooks account. Once logged in, navigate to the Lists menu and select Chart of Accounts. Here, you can create or modify your company’s income and expense accounts, which will be reflected on your invoices.

2. Customize Invoice Settings
Under the Gear icon, find Company Settings and select General. In this section, you can customize various invoice settings, such as:
Invoice Numbering: Determine your preferred numbering format (e.g., sequential, manual, or custom).
3. Edit Invoice Template Design
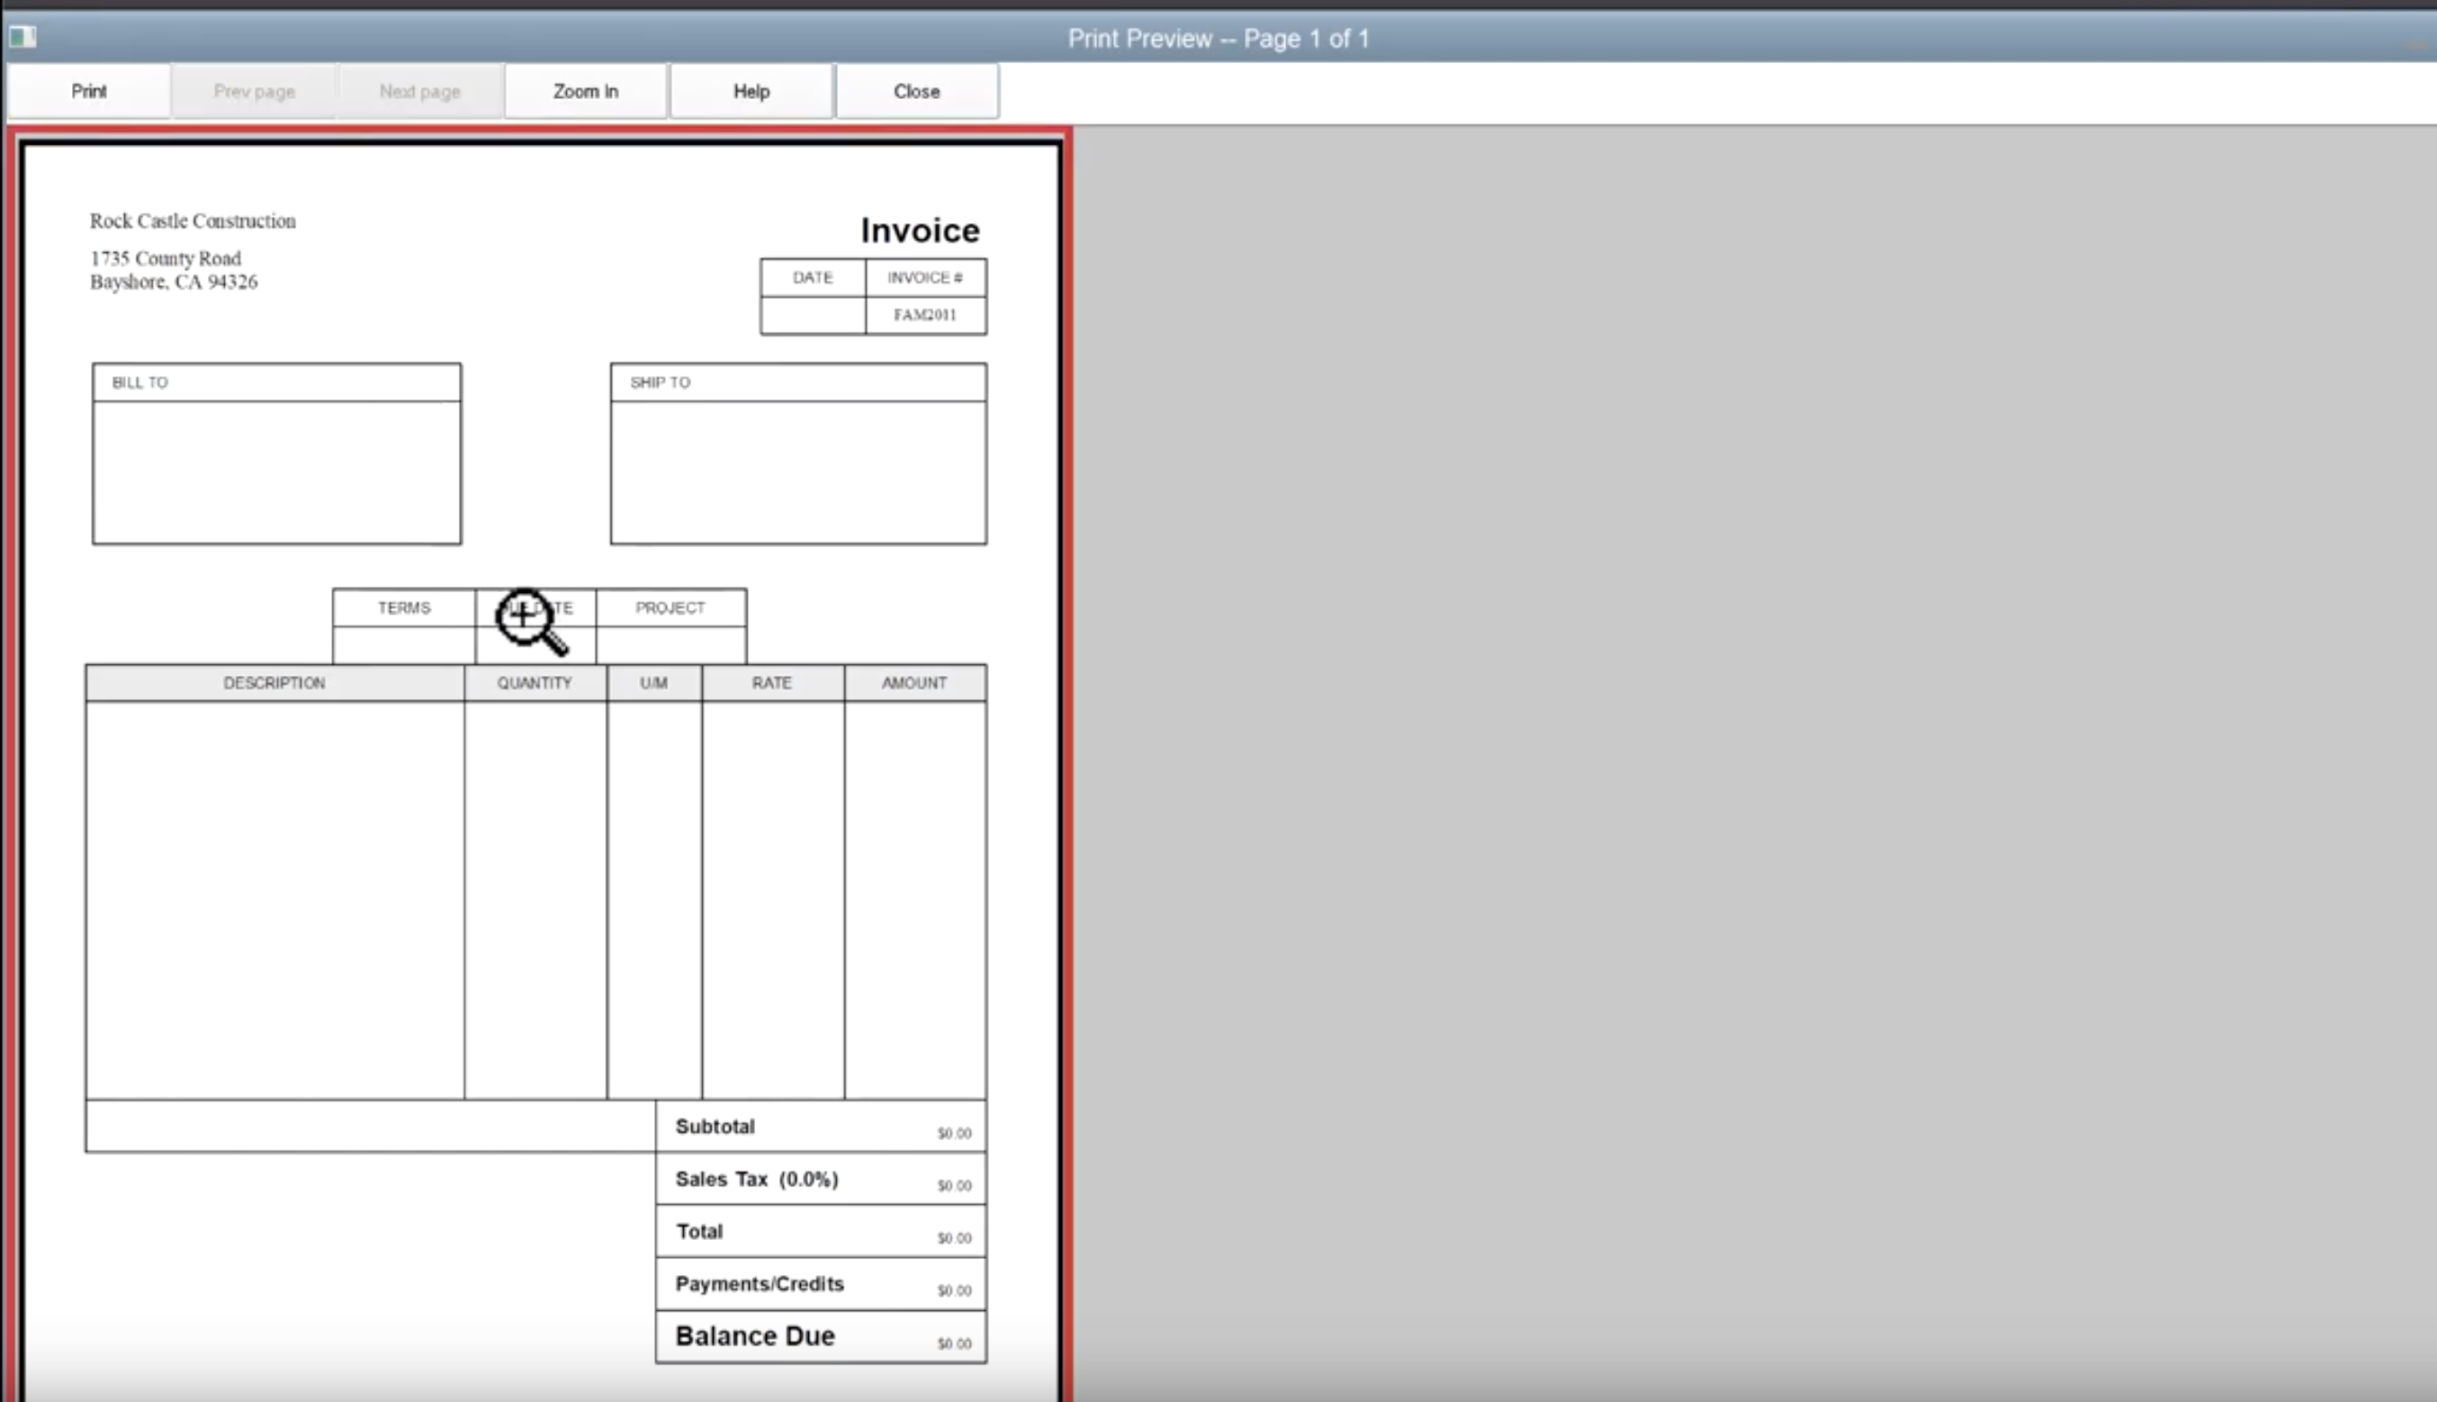
The design of your invoice template is crucial for creating a professional and trustworthy impression. Here are key elements to consider:
Header
Company Logo: Place your company logo prominently in the top left corner.
Body
Customer Information: List the customer’s name, address, and contact information.
Footer
Payment Terms: Remind the customer of the payment terms and due date.
4. Choose a Professional Theme
QuickBooks offers various invoice templates that you can use as a starting point. Select a theme that aligns with your company’s branding and preferences. You can customize the colors, fonts, and layout to create a unique invoice design.
5. Enhance Readability and Clarity
To ensure your invoices are easy to read and understand, follow these guidelines:
Consistent Formatting: Use consistent fonts, sizes, and spacing throughout the invoice.
6. Test and Refine
Before using your new invoice template, thoroughly test it to ensure it functions correctly and meets your needs. Print a sample invoice and review it for any errors or inconsistencies. Make necessary adjustments to refine the template.
By following these steps and focusing on design elements that convey professionalism and trust, you can create a QuickBooks invoice template that effectively represents your business and enhances your financial management.